As a homeowner, you understand the importance of protecting your most valuable asset. Ensuring you have a durable, weather-resistant roof over your head is one of the best ways to safeguard your home for years to come. If your current roof is showing signs of wear or damage, it may be time to consider replacing it. Asphalt roof shingle installation can be done by yourself. It’s an achievable project for many DIYers and can save thousands of dollars versus hiring a professional. However, it does require proper planning, safety precautions, and the right tools and materials to complete successfully. This guide provides an overview of how to install asphalt roof shingles on your own to help give you confidence in completing this task and ensure your new roof provides maximum protection and curb appeal for your home. With some time and patience, you’ll be enjoying the benefits and peace of mind of a new asphalt shingle roof in no time.
Preparing for Asphalt Roof Shingle Installation
To properly install asphalt roof shingles, adequate preparation is required. You will need to gather the necessary tools and materials, ensure proper safety precautions are taken, and check local building codes.
Tools and Materials
You will need asphalt roofing shingles, roofing nails or staples, roof cement or roofing tar, a hammer, a tape measure, a utility knife, a straight edge, and a chalk line. You should also have work gloves, safety glasses, sturdy shoes, and proper fall protection equipment like harnesses.
Safety First
Asphalt roof installation requires working at heights, so fall protection is critical. Ensure all ladders are securely placed on level ground and extend at least three feet over the edge of the roof. Wear proper protective gear like harnesses when on the roof.
Check Local Codes
Building codes regulate the installation of roofs to ensure safety, quality, and compliance with local weather conditions. Check with your city or county clerk for the specific codes in your area regarding the number of roofing layers allowed, nail placement, and more. Failure to follow these codes could void your warranty or cause issues down the road. We highly recommend that you hire a reputable roofing contractor to avoid hefty penalties.
With the proper tools, safety equipment, and knowledge of local building codes in hand, you will be ready to start installing your asphalt roof shingles. Carefully following each step will result in an attractive, durable, and weather-resistant roof. However, if you have any doubts or lack experience, it may be best to hire a professional roofer.
This is only one of the possible dangers of DIY roof repair or installation.
Step-by-Step Guide to Asphalt Roof Shingle Installation
To install asphalt roof shingles yourself, follow these steps:
Gather the necessary supplies
You will need asphalt roofing shingles, roofing nails, a hammer, a chalk line, a tape measure, a utility knife, a pry bar, and a caulk. You may also want a roofing shovel, trowel, and roof cement or roof sealant.
Prepare the roof deck
Make sure the roof deck is clean, smooth, and securely nailed. Replace any damaged wood. Apply roof cement or sealant over any cracks.
Install the underlayment
Roll out the roofing felt or other underlayment, starting at the bottom edge of the roof. Secure in place according to product directions. The underlayment protects the roof deck and helps shed water.
Install the starter strip
Place the starter strip along the edge of the roof to provide a straight guide for the first course of shingles. Secure with roofing nails.
Install the first course
Place the first shingle at the bottom left corner of the roof. Align the top edge with the starter strip and nail in place. Place additional shingles in the first row, leaving a 1/4-inch gap between the shingles for expansion.
Install succeeding courses
Place the first shingle of the second course over the tops of two shingles in the first course. Secure in place. Continue across the roof, maintaining a consistent pattern. Place shingles in succeeding courses in the same manner.
Install the ridge cap
Place ridge cap shingles over the peak of the roof to cover the exposed edges of shingle courses. Secure in place with roofing cement and nails.
By methodically following these steps, do-it-yourself homeowners can achieve professional-looking results in installing asphalt roof shingles. With some patience and the proper safety precautions, a DIY asphalt roof shingle project can save thousands of dollars in installation costs.
Tips for Ensuring a Successful Asphalt Roof Shingle Installation
To ensure a successful asphalt roof shingle installation, there are several key tips to keep in mind:
Use high-quality shingles and proper nails
Invest in high-quality, thick roof shingles and galvanized roofing nails for your project. Thicker shingles will last longer and provide better protection. Galvanized nails are corrosion-resistant and will not deteriorate or cause staining like ordinary nails.
Install a solid roof deck
The roof deck is the foundation for your new shingles. Inspect the decking for any damaged, rotten or warped sheets of plywood and replace them. Secure any loose boards or sheets to provide a solid base. For the best results, use plywood that is at least 1/2 inch thick.
Apply roof cement and roof starter strips
Apply roof cement or roof sealant along the edges of the roof, around vents, and under the starter strip for added leak protection. The starter strip is the first row of shingles that is installed along the edge of the roof. It should overhang the edge of the roof by 1/4 to 1/2 inch.
Follow the correct shingle placement pattern
The shingle packaging will indicate the correct shingle placement pattern for maximum weather protection. The most common patterns are offset, straight up the roof, or staggered. Place the first shingle at the lowest corner of the roof. Work in a pyramid shape, with each higher row overlapping the previous row by at least 2 inches.
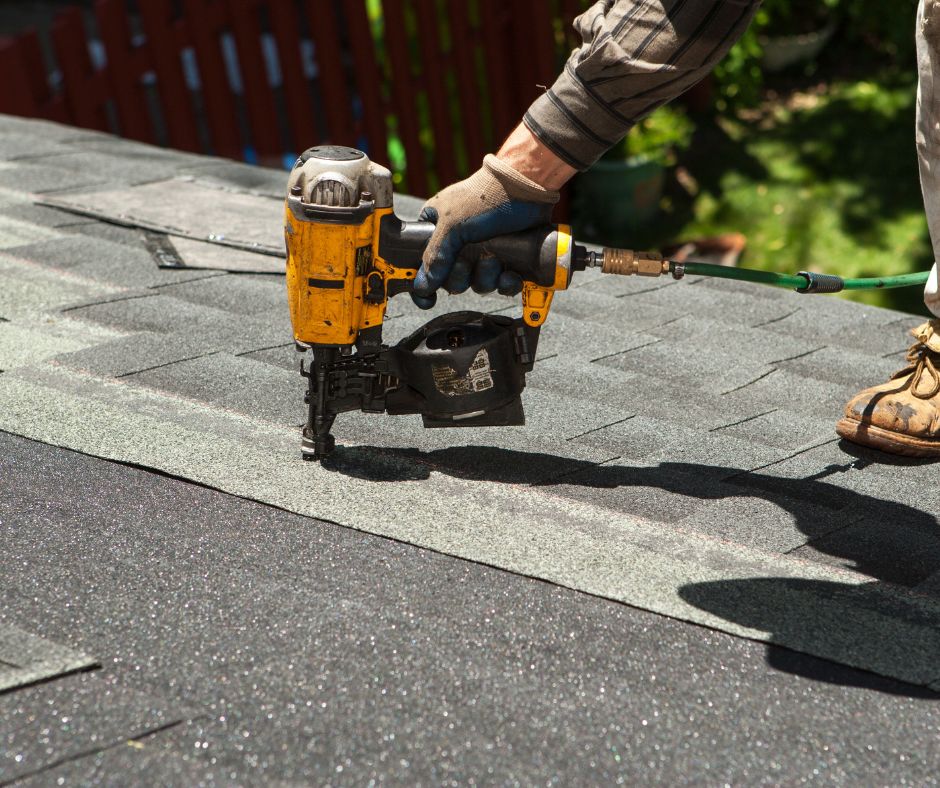
Use a roofing hammer to seal the shingles
Once the shingles have been installed, use a roofing hammer to seal the shingles to each other. Pound three nails into each shingle – two just below the tar line and one at the top. For the best seal, drive the nails straight in and not at an angle. Pound the nails in until the heads are flush with the shingle surface.
Following these key tips will help ensure your DIY asphalt roof shingle installation is successful and provides long-lasting protection for your home. Take your time and pay close attention to the details for professional-looking results.
Conclusion
You now have the knowledge and confidence to tackle an asphalt roof shingle installation project yourself. By carefully planning the work, ensuring you have the proper safety equipment and tools, and methodically working in sections, you will achieve a professional result and save significantly on labor costs. While the work requires patience and physical effort, the satisfaction of a job well done and a roof that will protect your home for decades makes it worthwhile. Your newly shingled roof will not only enhance the curb appeal and value of your home but also provide you peace of mind through the weather and the years to come. With some basic skills and the right mindset, you have proven that a DIY approach can achieve amazing results.
Looking for a reputable roofing contractor to install your asphalt roof shingles instead? Roofing Recovery is one of the outstanding roofing contractors in South Florida with superb quality, customer service, and extensive experience. Call 954-799-4069 to request a quote today!


")

