A roof leak is almost always hidden in palin sight unless you find water damage on your ceiling or walls. Patching a roof leak on the other hand is just as difficult as spotting a leak. In this blog, we’ll guide you on how to spot a leak and how to do it.
Examine the sheathing and rafters for any damp areas.
Please bring a flashlight with you and use it to examine the underside of the roof sheathing and the rafters, looking for any glossy or moist patches. If the leak has been going on for some time, there may be rotten wood or dark mold forming around the area where it occurred. You can check the insulation batts for damp patches if the rafter bays are insulated.
This is only possible if the rafter bays are insulated. Conduct a thorough inspection of your roof to look for general wear and tear. Check the area where the leak is occurring for missing, cracked, or curled shingles, and examine your roof’s overall condition.
Check to see if there are a significant number of broken or missing shingles, large gaps where the roof material meets vents or a chimney, and any other indications of general wear and tear.
Simple improvements include replacing one or two shingles and filling in minor cracks or holes in the roof. Nevertheless, areas of missing shingles and general wear and tear signal that your roof needs to be replaced, mainly if it is older than 20 years.
In addition, if you look in your attic and see widespread rot or mold on your roof boards or trusses, you may have structural problems that require the assistance of a qualified roofer.
Get in touch with Roofing Recovery to take advantage of our expert and first-rate services; we will see to it that the work done on the repairs is of the highest possible standard and get a free roof estimate.
Reattach the shingles after they have been straightened out.
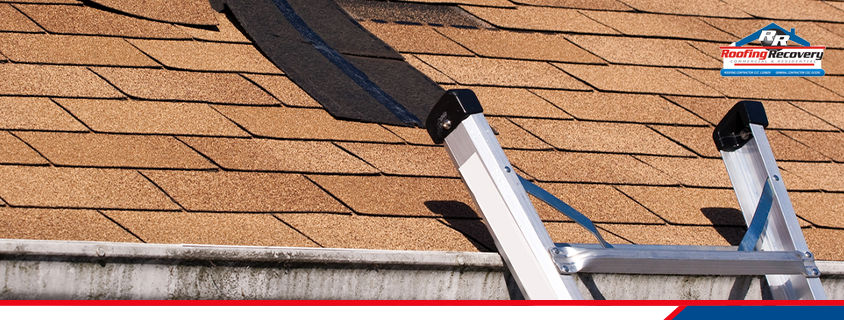
Asphalt shingles frequently develop a curling effect on the corners as time passes. If you notice any curled-back tiles, you should carefully smooth them out and then use a caulking gun to apply a dab of roof sealant directly under the raised corners. After you have pressed the shingle into place, use a trowel to coat the edges of the shingle with roof cement.
When exposed to warm temperatures, shingles become more flexible. You might need to use a blow drier on a shingle that has become crinkled since shingles become more fragile when it’s chilly out. If you want to avoid damaging the shingle, you shouldn’t use a heat torch or any other source of heat that is more powerful than a blow dryer.
Use roof sealant to repair a fracture in the roof that is clean. It is not necessary to repair a shingle that only has a clean tear in it. Rather than that, use a caulking gun to apply a substantial bead of roof sealant underneath the crack. The shingle needs to be pressed down, and then another bead of sealant should be applied over the crack. A Putty knife should be used to spread the top bead to cover both of the crack’s edges.
To conceal the fact that you have made repairs, search for accumulations of asphalt granules around the roof and in the gutter.
Gather a tiny quantity, then sprinkle it into the sealant to achieve the desired color match for your shingles. Investigate the roofing material for any signs of cracks or blisters. Check the exterior of the building for any damage that would explain the water stains you’ve noticed on the ceiling, just as you would if the roof were made of shingles. Examine the areas around joints, vents, chimneys, and any other things that penetrate the roof in close detail for the presence of small cracks.
Roofing sealant can patch up even the most minor holes at joints, vents, and chimneys. It is necessary to fix any holes larger than 0.64 centimeters (0.25 inches), open splits, or blistering areas.
Looking for a reputable roofing contractor for your roof repair needs? Roofing Recovery is one of the outstanding roofing contractors in South Florida with superb quality, customer service, and extensive experience. Call 954-799-4069 to request a quote today!


